Overview
In modern software projects many teams utilize the concept of continuous integration and continuous delivery (CI/CD). By setting up a tool chain that continuously builds, tests, and stages software releases a team can ensure that their product can be reliably released at any time. OpenShift can be an enabler in the creation and managecment of this tool chain. In this lab we will walk through creating a simple example of a CI/CD pipeline utlizing Jenkins, all running on top of OpenShift!
Start by creating a new project
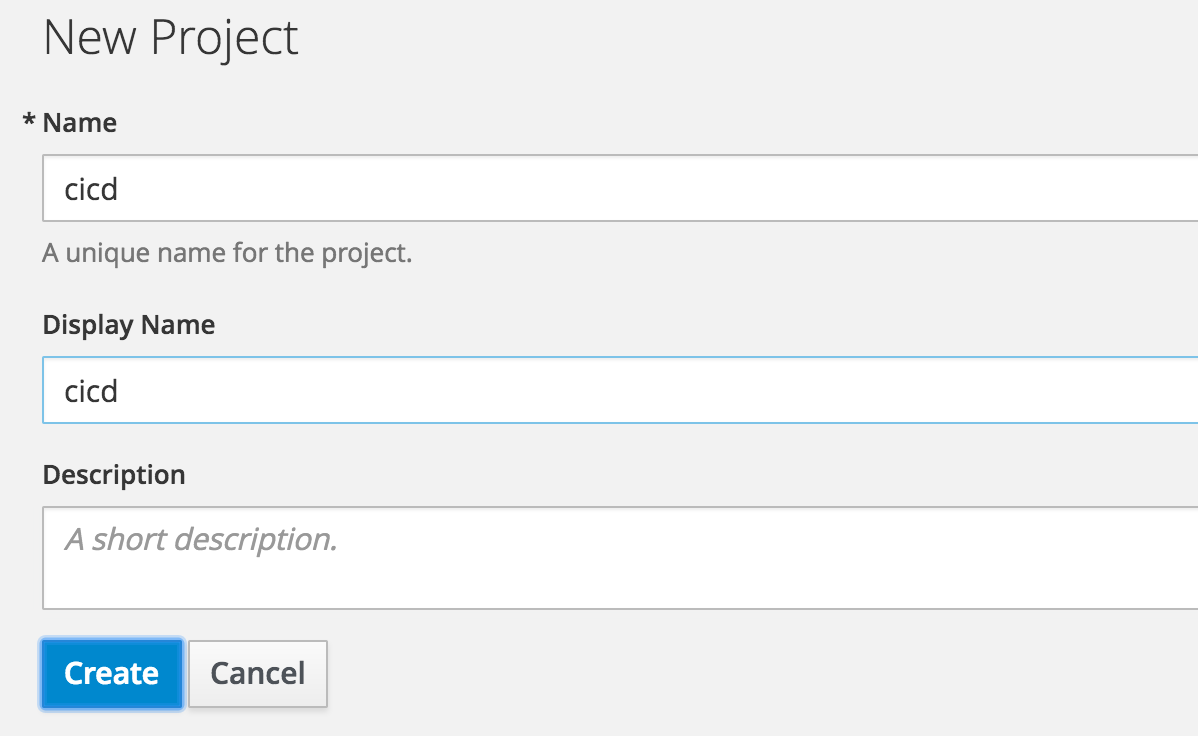
To begin, we will create a new project. Name the new project “cicd”.
Goto the terminal and type the following:
$ oc new-project cicd
Browse to original landing page, and click "New Project".

Fill in the name of the project as "cicd" and click "Create"
Start by installing Jenkins
First we will start by installing Jenkins to run in a pod within your workshop project. Because this is just a workshop we use the ephemeral template to create our Jenkins sever (for a enterprise system you would probably want to use the persistent template). Follow the steps below:
Goto the terminal and type the following:
        $ oc new-app --template=jenkins-ephemeral -p JENKINS_PASSWORD=password
        $ oc expose svc jenkins
        $ oc policy add-role-to-user edit -z default
Copy hostname and paste in browser's address bar...
$ oc get routes | grep 'jenkins' | awk '{print $2}'
Click "Add to Project", click "Browse Catalog" select "jenkins-ephemeral".

Click "continue to overview", wait for it to start
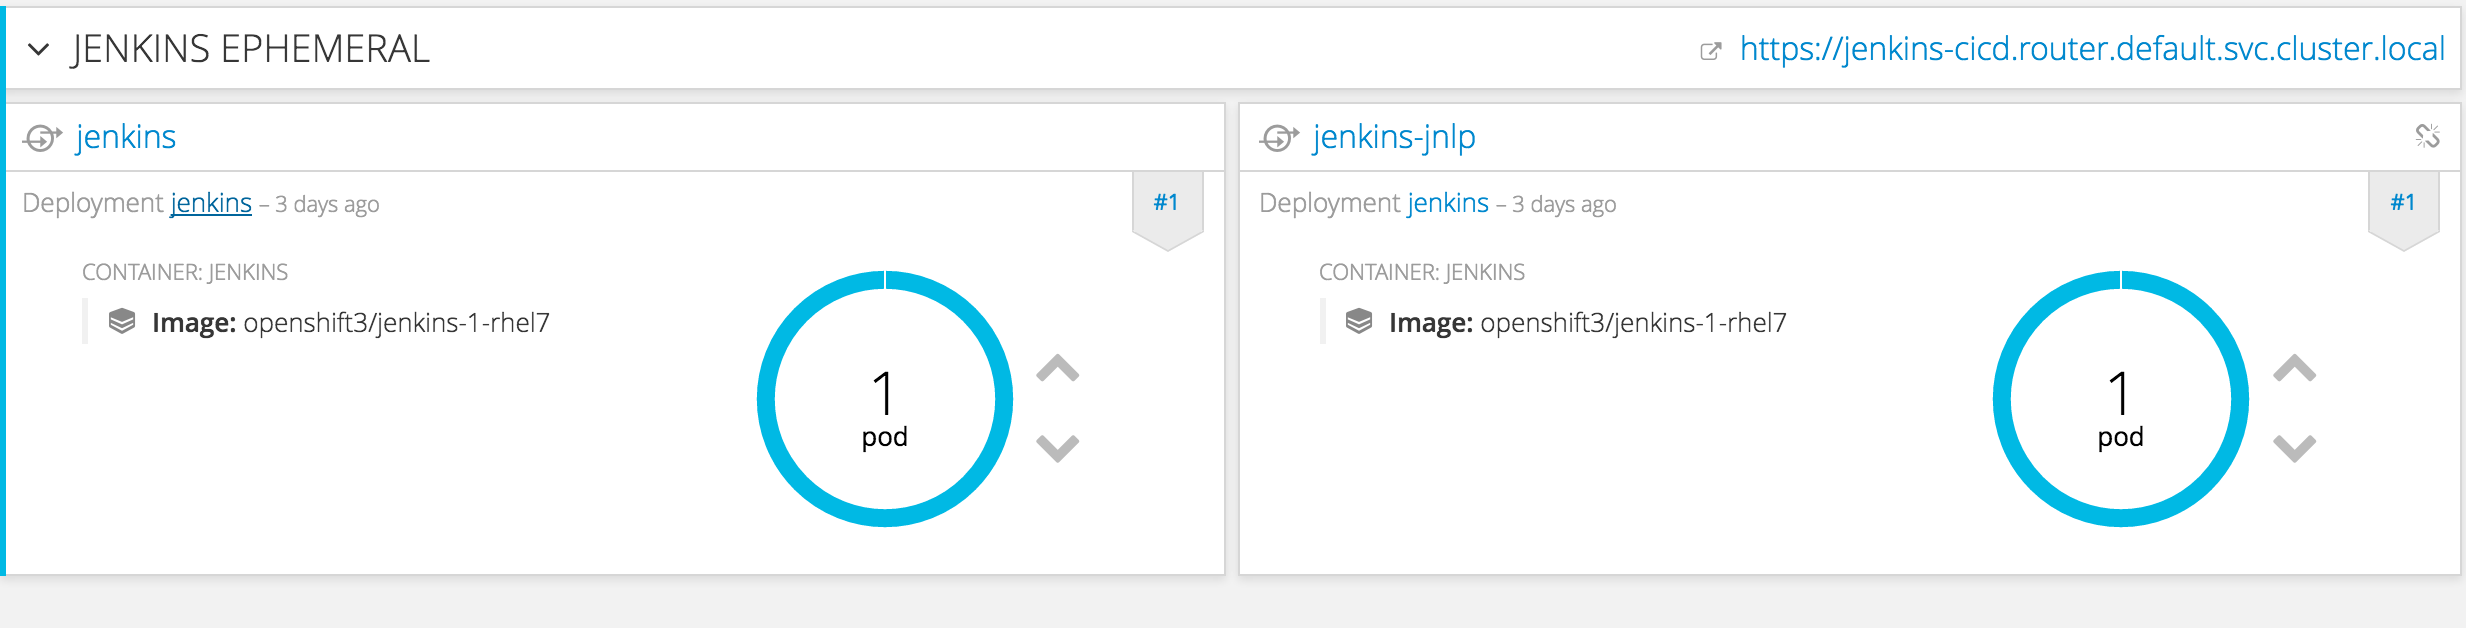
Click the service link to open jenkins, login as admin/password

The OpenShift pipeline plugin
Now let’s make sure we have the OpenShift Pipeline plugin properly installed within Jenkins. It will be used to define our application lifecycle and to let our Jenkins jobs perform commands on our OpenShift cluster. It is possible that the plugin is already installed in your environment, so use these steps to verify if it is installed and install it if is not.
Click "Manage Jenkins"

Click on "Manage Plugins"

Click on "Available" tab, and filter on "openshift". Find the"Openshift Pipeline Jenkins Plugin". If it is not installed, then install it.

You can read more about the plugin here.
Our deployments
In this example pipeline we will be building, tagging, staging and scaling a Node.js webapp. We wrote all the code for you already, so don’t worry you won’t be coding in this lab. You will just use the code and unit tests to see how CI/CD pipelines work. And keep in mind that these principles are relevant whether your programming in Node.js, Ruby on Rails, Java, PHP or any one of today’s popular programming languages.
Fork the project into your own GitHub account

Create a dev deployment based on the forked repo
Goto the terminal and type the following:
$ oc new-app https://github.com/YOUR_ACCOUNT/openshift-workshops.git \
   --name=dev --context-dir=dc-metro-map
$ oc expose svc/dev
Create a test deployment based on a tag of the dev ImageStream
Goto the terminal and type the following:
$ oc new-app dev:readyToTest --name=test --allow-missing-imagestream-tags
$ oc expose dc/test --port 8080
$ oc expose svc/test
Setup Jekins jobs to use their openshift image stream (which is off your GitHub fork)
click "New Item"

call it yourname-ci-devel, select freestyle, click OK

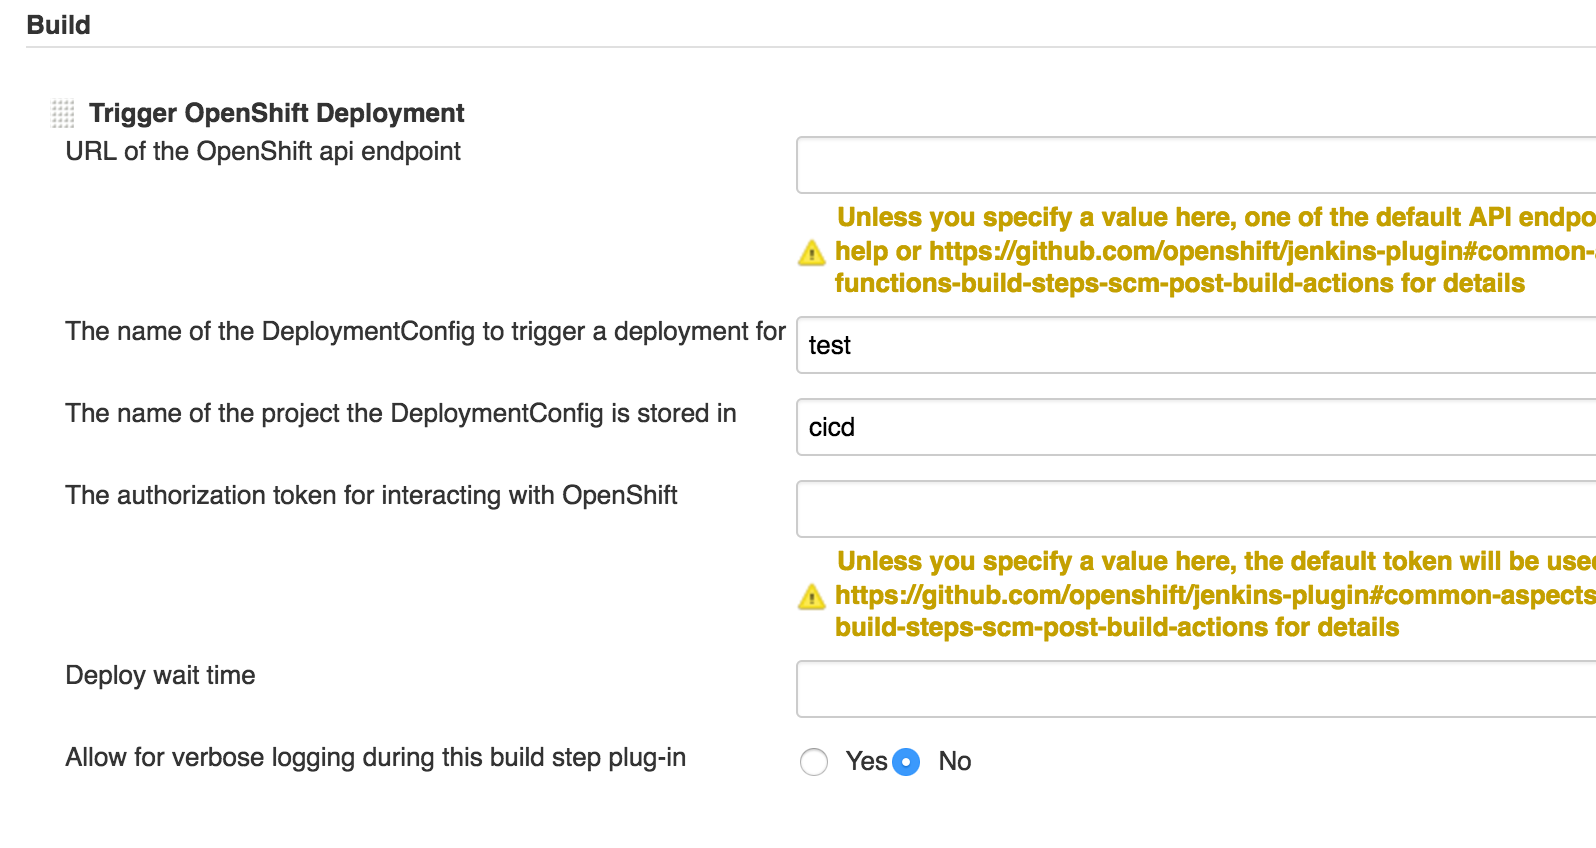
Click add build step and choose "Tag OpenShift Image". Enter in all the info, tag as "readyToTest"

In the "Post-build actions" subsection click "Add post-build action" and select "Build other projects". Type in "yourname-ci-deploytotest"

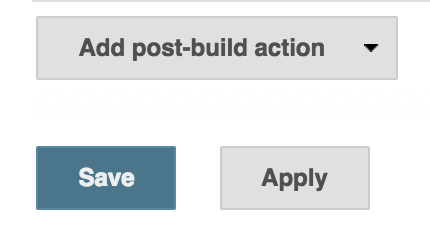
Click "Save", don't worry about the error here, we are about to build that Jenkins job.
Notes: You will not need the URL of the OpenShift api endpoint or the Authorization Token
to get this to work
</div>
Connecting the pipeline for dev->test
Click "Back to dashboard"
Click "New Item"
Call it "yourname-ci-deploytotest", select "freestyle", click "OK"

Click add build step and choose "Execute shell"

echo "inside my jenkins job"Click add build step and choose "Trigger OpenShift Deployment".
Click add build step and choose "Scale OpenShift Deployment".

Click "Save".
Watch me release!
At this point you should see the following scenario play out:
-
Inside of Jenkins, you will click the dev pipline that was created we created. On the left-hand side you will see an option to
 . When you click this, the first job will begin to run.
 -
This first job will use the OpenShift Pipeline plugin to create a new tag of the image called “readyToTest”.
-
When this job completes, a second job will execute. This second job cause the deployment to initiate of our test application and then scale the test application to 2 pods.
-
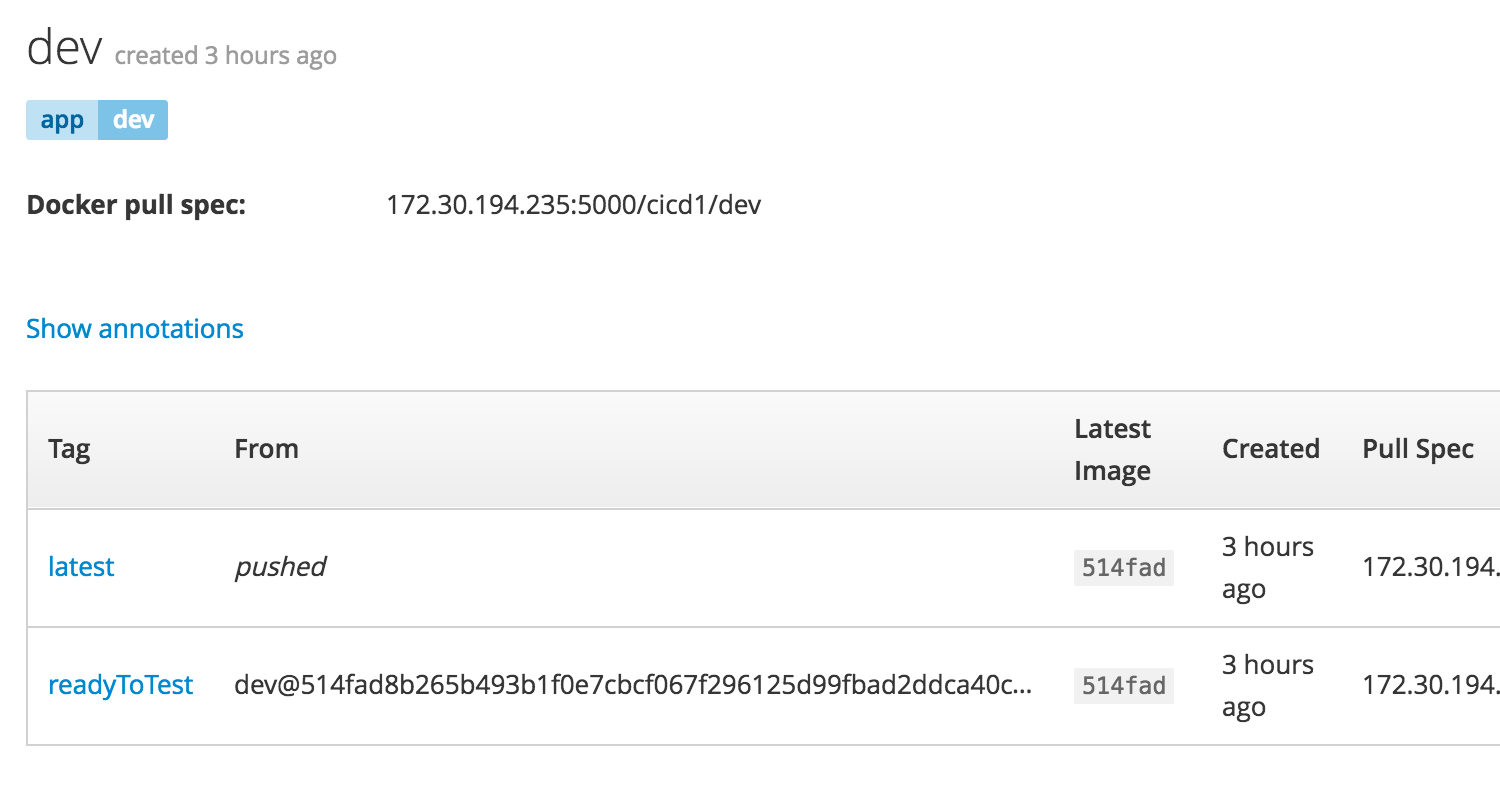
You can see the history of this new tag by browsing to initiate two jobs in the pipeline with the final step being the new tag of “readyToTest”. The new tag can then be used for automatic or manual builds of the new test application. You can view the status of the new tag in OpenShift by browsing to Builds -> Images -> your image stream
Summary
Coming soon… Read more about usage of Jenkins on OpenShift here. Read more about the concepts behind pipelines in Jenkins here.