Labels
This is a pretty simple lab, we are going to explore labels. You can use labels to organize, group, or select API objects.
For example, pods are “tagged” with labels, and then services use label selectors to identify the pods they proxy to. This makes it possible for services to reference groups of pods, even treating pods with potentially different docker containers as related entities.
Labels a on pod
In a previous lab we added our web app using a S2I template. When we did that, OpenShift labeled our objects for us. Let’s look at the labels on our running pod.
Goto the terminal and try the following:
$ oc get pods
$ oc describe pod/PODNAME | moreAdd a label
$ oc label pod/PODNAME testdate=4.30.2016 testedby=mylastnameLook at the labels
$ oc describe pod/PODNAME | moreoc describe all | grep -i "labels:"
Hover over "Browse" and then click on "Pods"This is going to show basic details for all pods in this project (including the builders).
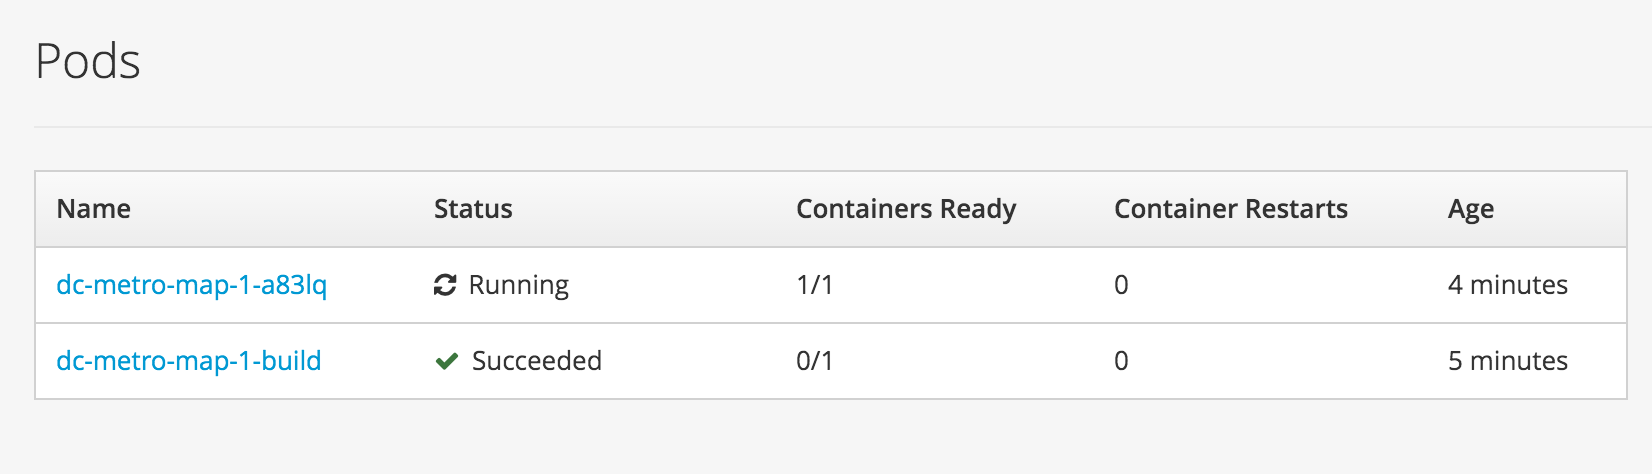
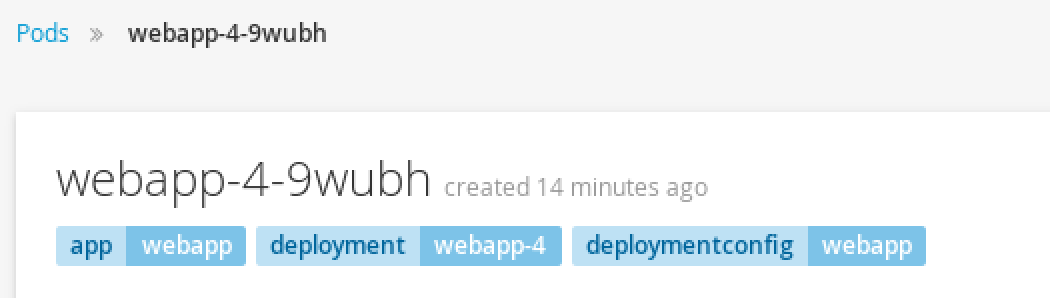
Click the pod for the dc metro map webapp (it shoud have a status of Running)
Click vertically stacked "..." button, then click "Edit" the pod
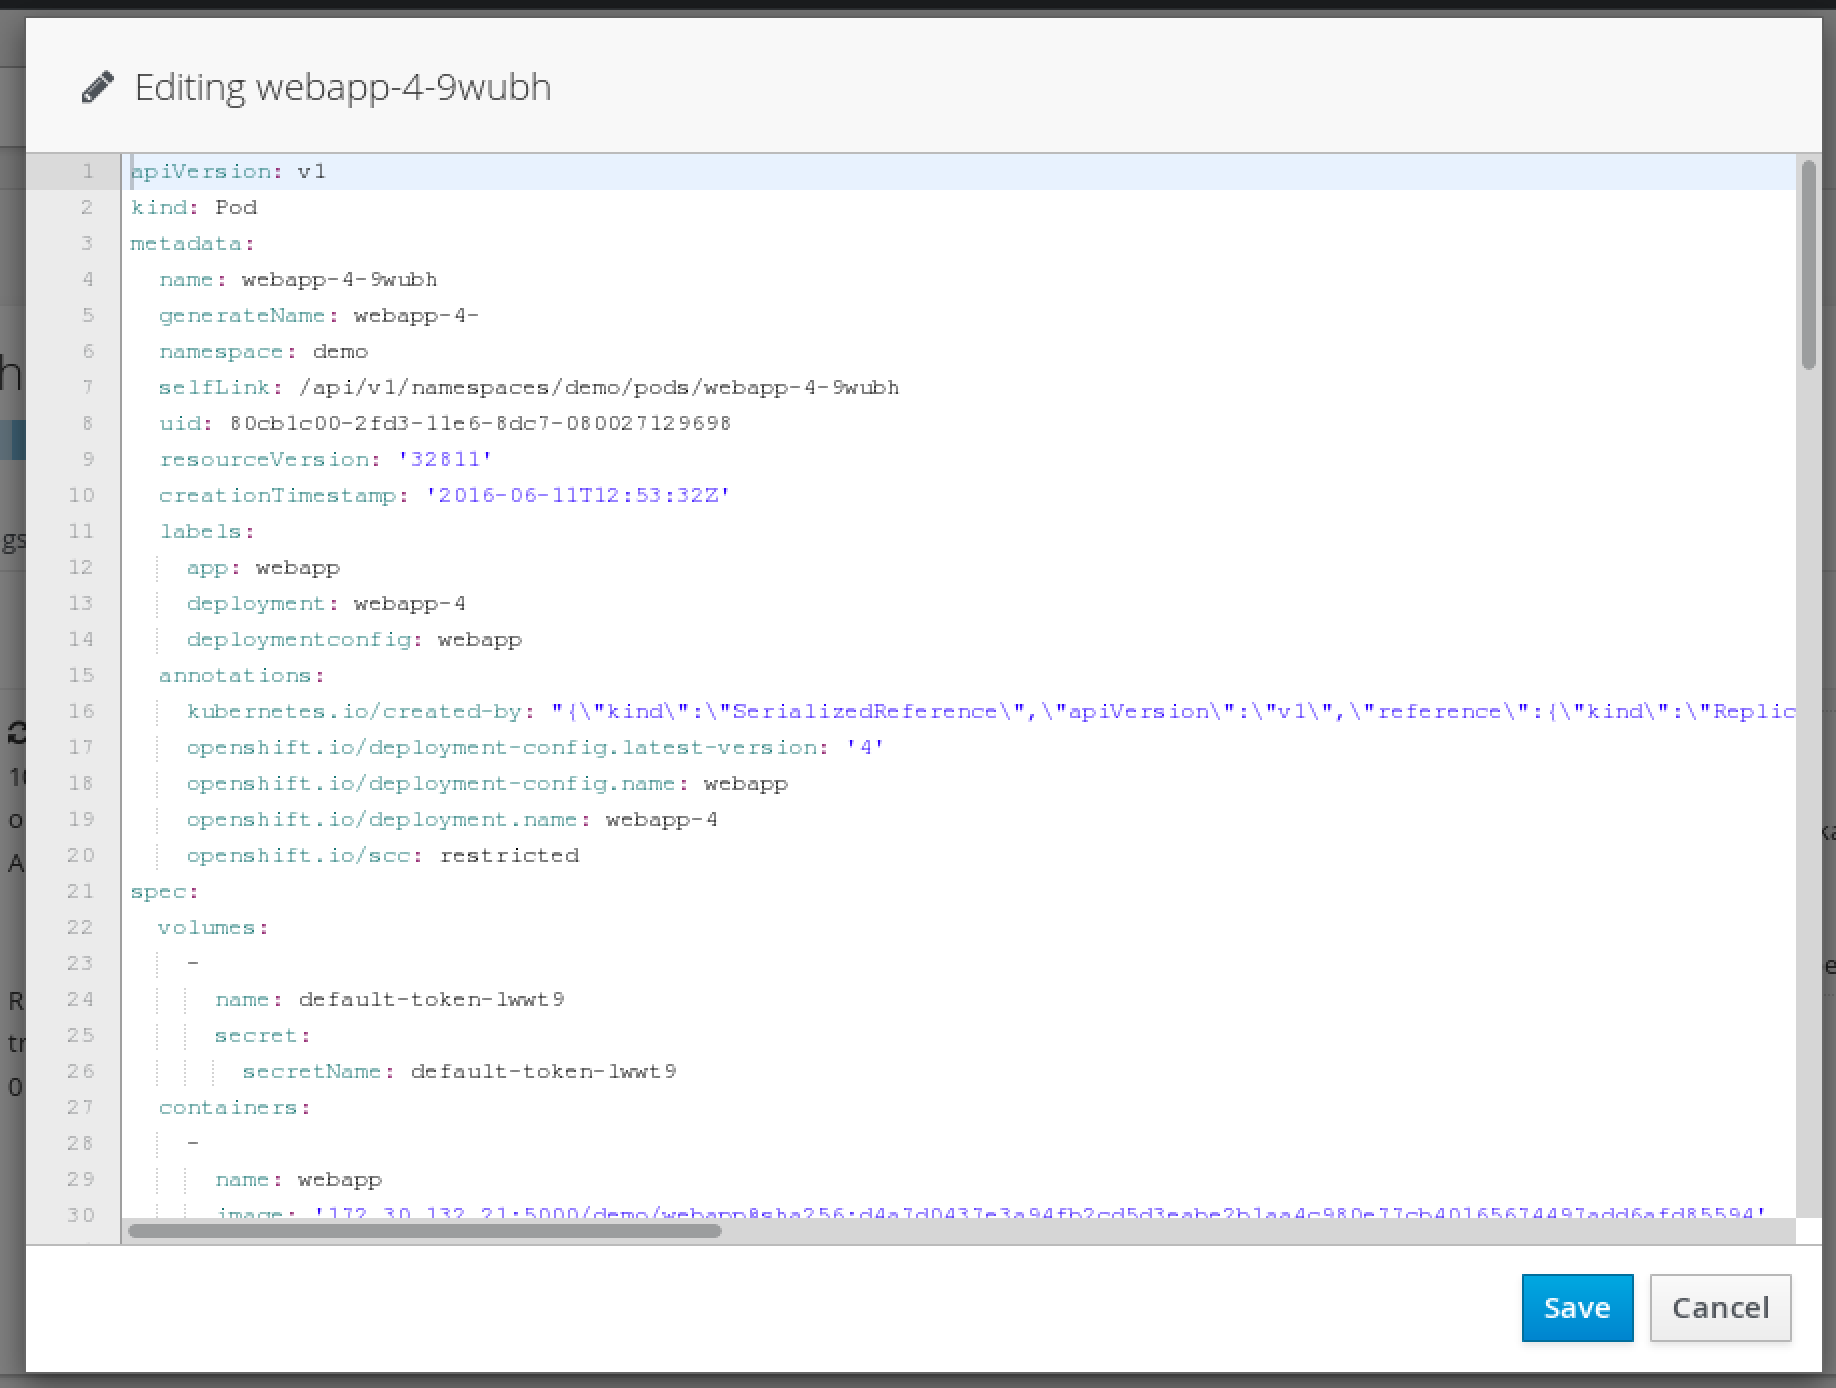
Add a new label into the labels sectionYour updated label will show up in the pod's list.
Summary
That’s it for this lab, now you know that all the objects in OpenShift can be labeled. This is important because those labels can be used as part of your CI/CD process. Advanced labs will cover using labels for Blue/Green deployments and running yours apps on specific nodes (e.g. just on SSD nodes or just on east coast nodes). You can read more about labels here and here.